

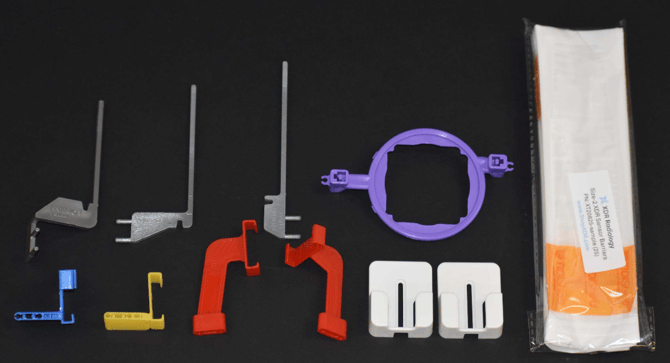
An XDR Accessory Kit includes:
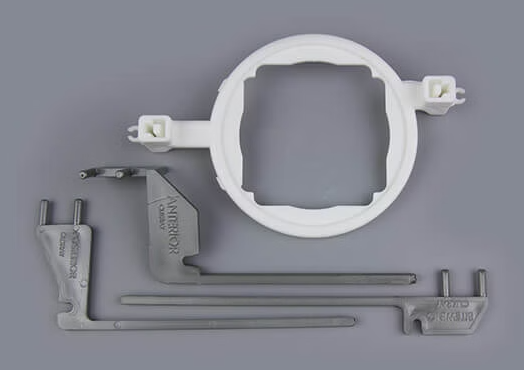
- XDR Paralleling Guide System (One of each):
- Anterior Litening Rod
- Posterior Litening Rod
- Bitewing Litening Rod
- ShaRing
- XDR Biteblock Kit (One of each):
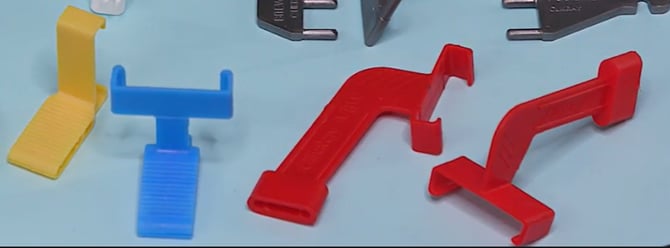
- Blue Anterior PA Biteblock
- Yellow Posterior PA Biteblock
- Red Vertical BW Biteblock
- Red Horizontal BW Biteblock
- 25 - Sensor barriers
- 2 - Sensor wall hangers
XDR Paralleling Guide System (ShaRing & Litening Rod set ANT/POST/BW )
Biteblocks- Yellow Posterior PA, Blue Anterior PA , Red Vertical BW, and Red Horizontal BW
Autoclaving Instructions:
- Autoclave sensor holders before and after each use.
- Place components in sterilization pouches: metal and plastic parts separately.
- Position pouches paper-side down on the middle tray, away from walls and the heating element.
- Follow the autoclave manufacturer's instructions for cycle parameters, and do not exceed 270°F/ 27 lbs psi-15 minutes
Note: Plastic parts have a limited life and should be replaced periodically. Any method of sterilization will shorten the life of plastic parts.
Sensor Positioner Assembly :
To assemble the XDR Paralleling Guide System (ShaRing & Litening Rod) with the Biteblocks follow these instructions:
For Bitewings:
- Choose the red biteblock marked HBW for horizontal bitewings, or VBW for vertical bitewings for the appropriate size sensor.
- Insert the pegs of Litening Rod marked BITEWING into the desired biteblock.
- Gently insert the sensor into the biteblock arms, assuring the holder is positioned in the direct middle of the sensor field, and white face of the sensor is towards the bite plane of the holder.
- Insert the end of the Litening Rod into the perpendicular channel of the ShaRing marked BW-ANT. Use the attached cable guide clip on the ShaRing for further stability.
For Anterior Periapicals:
- Choose the blue biteblock for the appropriate size sensor.
- Insert the pegs of Litening Rod marked ANTERIOR into the biteblock.
- Gently insert the sensor into the biteblock arms, assuring the sensor is seated entirely into the bottom arm, and the white face of the sensor is towards the bite plane of the holder.
- Insert the end of the Litening Rod into the perpendicular channel of the ShaRing marked BW-ANT. Use the attached cable guide clip on the ShaRing for further stability.
For Posterior Periapicals:
- Choose the yellow biteblock for the appropriate size sensor.
- Insert the pegs of Litening Rod marked POSTERIOR into the biteblock.
- Gently insert the sensor into the biteblock arms, assuring the holder is positioned in the direct middle of the sensor field, and the white face of the sensor is towards the bite plane of the holder.
- Insert the end of the Litening Rod into the oblique channel of the ShaRing marked P. Use the attached cable guide clip on the ShaRing for further stability.
NOTE: Always visually ensure the sensor is angled in the direct center of the ShaRing before positioning in the patient’s mouth.
To order XDR sensor holders click here!